
Selling on Amazon FBA is a pretty straightforward concept. You find a product, get it from a supplier, ship it to one of Amazon's massive warehouses, and they take over from there. Amazon handles all the storage, packing, shipping, and even the customer service. This frees you up to focus on the bigger picture—growing your brand—instead of getting bogged down in day-to-day logistics.
Building Your Foundation for Amazon FBA Success
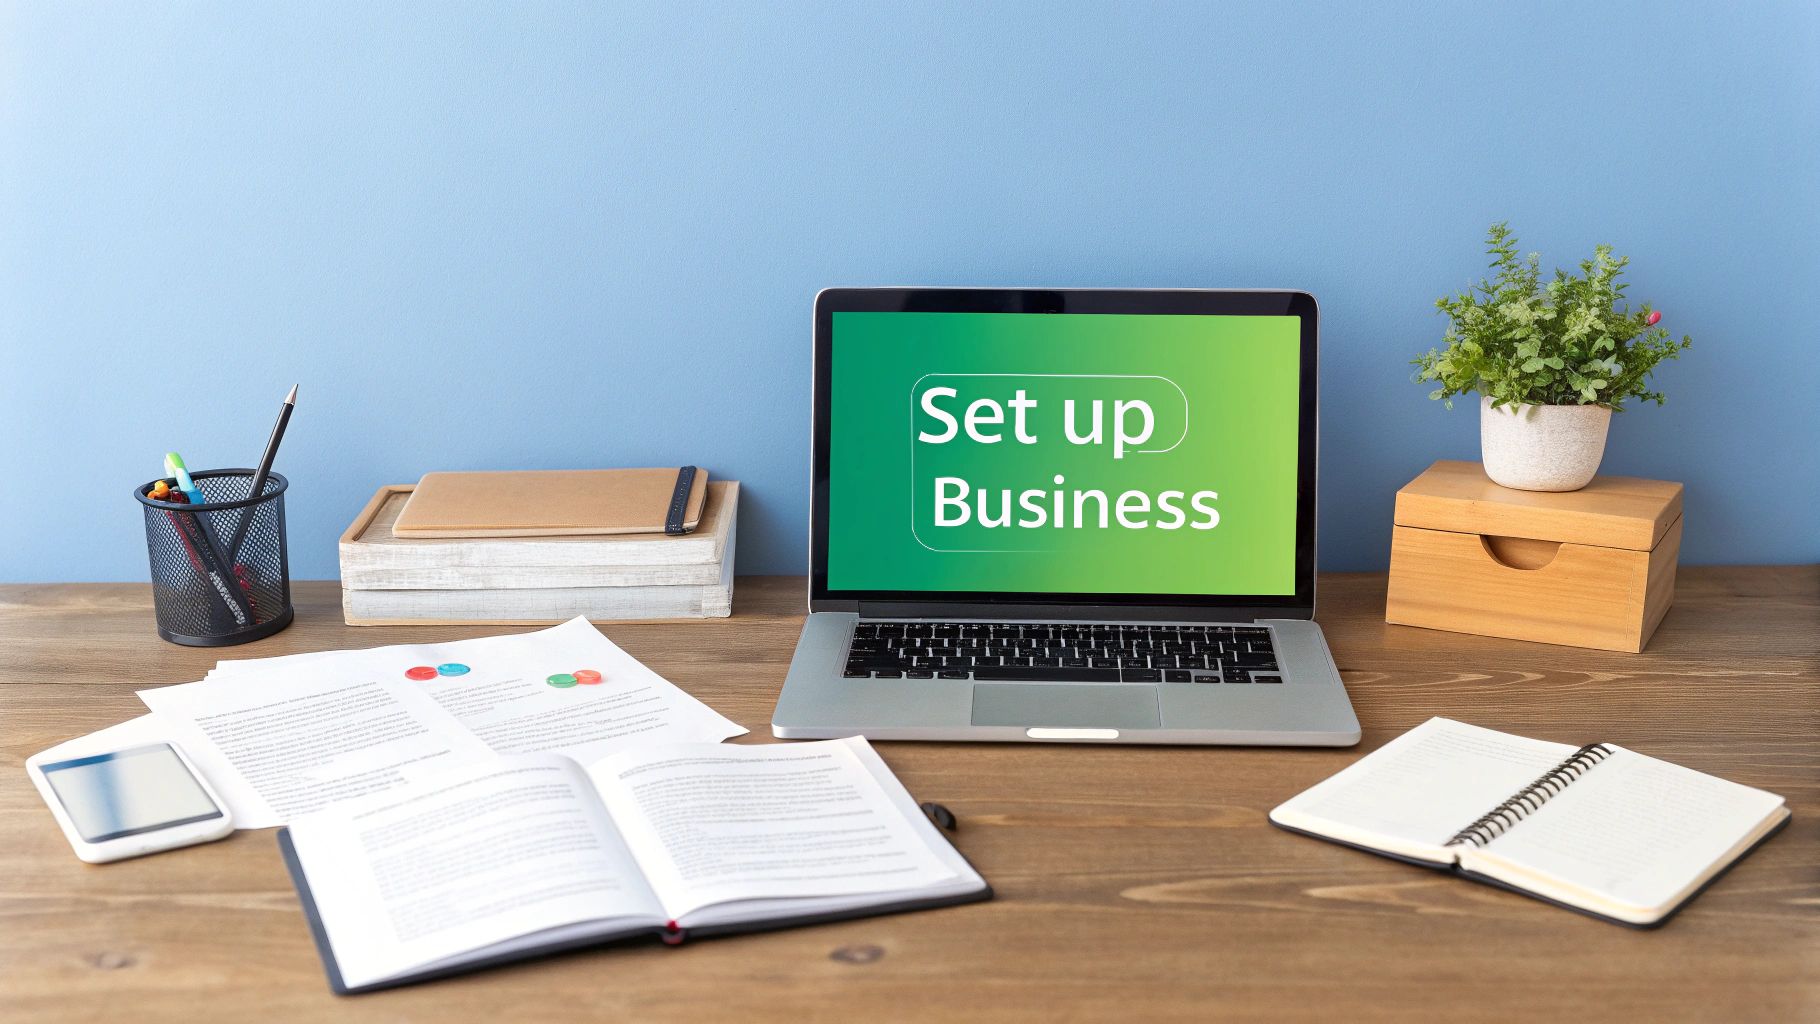
Before you even start dreaming about products, your very first move has to be building a rock-solid business foundation. So many new sellers rush this part and create massive headaches for themselves down the road. It's all about legally establishing your business and navigating Amazon's Seller Central registration correctly from the get-go.
Getting this right isn't just about filling out a form; it's about making smart, strategic choices that will support your business long-term.
Setting Up Your Business Entity
First things first, you need a formal business structure. While it's tempting to start as a sole proprietorship using your social security number, setting up a Limited Liability Company (LLC) or an S-Corp is a much savvier move. This simple step creates a legal separation that protects your personal assets (like your house and car) from any business liabilities—a crucial safety net you can't afford to skip.
Here's a practical workflow to follow:
- Choose a Business Name: Pick a name for your brand. Let's say, "Aura Home Goods."
- Select a State: Decide which state to register your LLC in (often your home state is easiest).
- File Articles of Organization: Use a service like LegalZoom or contact your state's Secretary of State to file the necessary paperwork.
- Obtain an EIN: Once your LLC is approved, go to the IRS website and apply for a free Employer Identification Number (EIN). This is your business's tax ID.
- Open a Business Bank Account: Take your LLC documents and EIN to a bank to open a dedicated business checking account.
This structured approach not only protects your personal finances but also makes you look far more professional when you start talking to suppliers and other partners.
Navigating Amazon Seller Central Registration
Once your business entity is official, it's time to create your Amazon seller account. Be warned: Amazon's verification process is incredibly thorough. Having all your documents organized and ready to go is the key to avoiding frustrating delays.
You'll absolutely need to have these items on hand:
- Government-Issued ID: A valid passport or driver's license will work.
- Tax Information: Your Employer Identification Number (EIN) for your LLC, or your Social Security Number if you're sticking with a sole proprietorship.
- Bank Account Details: A legitimate bank account where Amazon can deposit your earnings.
- Credit Card: A chargeable credit card for your monthly fees and ad spend.
- Phone Number: A mobile number for two-factor authentication.
Key Takeaway: The name and address on all your documents—bank statements, ID, utility bills—must match the information you enter into Seller Central exactly. Even a tiny discrepancy, like "St." vs. "Street," can trigger a verification process that drags on for weeks.
Choosing the Right Seller Plan
Amazon gives you two main selling plans to choose from, and the right one for you really just depends on how much you plan to sell. Understanding the difference is critical for managing your costs right out of the gate.
Individual Plan:
- You pay $0.99 for every item you sell, plus the usual referral fees.
- This is really only for people planning to sell fewer than 40 items a month.
- You get limited access to advanced selling tools and can't use many advertising features.
- Example: Best for someone selling used books from their personal collection.
Professional Plan:
- This is a flat $39.99 per month, no matter how many items you move.
- It unlocks access to absolutely essential tools, like PPC advertising, detailed business reports, and the ability to win the Buy Box.
- Honestly, this is a must-have for anyone serious about building a real, scalable FBA business.
- Example: Essential for a new brand launching a line of kitchen gadgets that needs advertising to gain visibility.
For any new brand, the Professional plan is the only way to go. The ability to run advertising campaigns is non-negotiable if you want to launch a product successfully. For those who want to dive deeper, our guide on complete Amazon account management breaks down the operational side of things. Making the right choice here really does set the stage for profitability from your very first sale.
Finding and Sourcing Your First Profitable Product
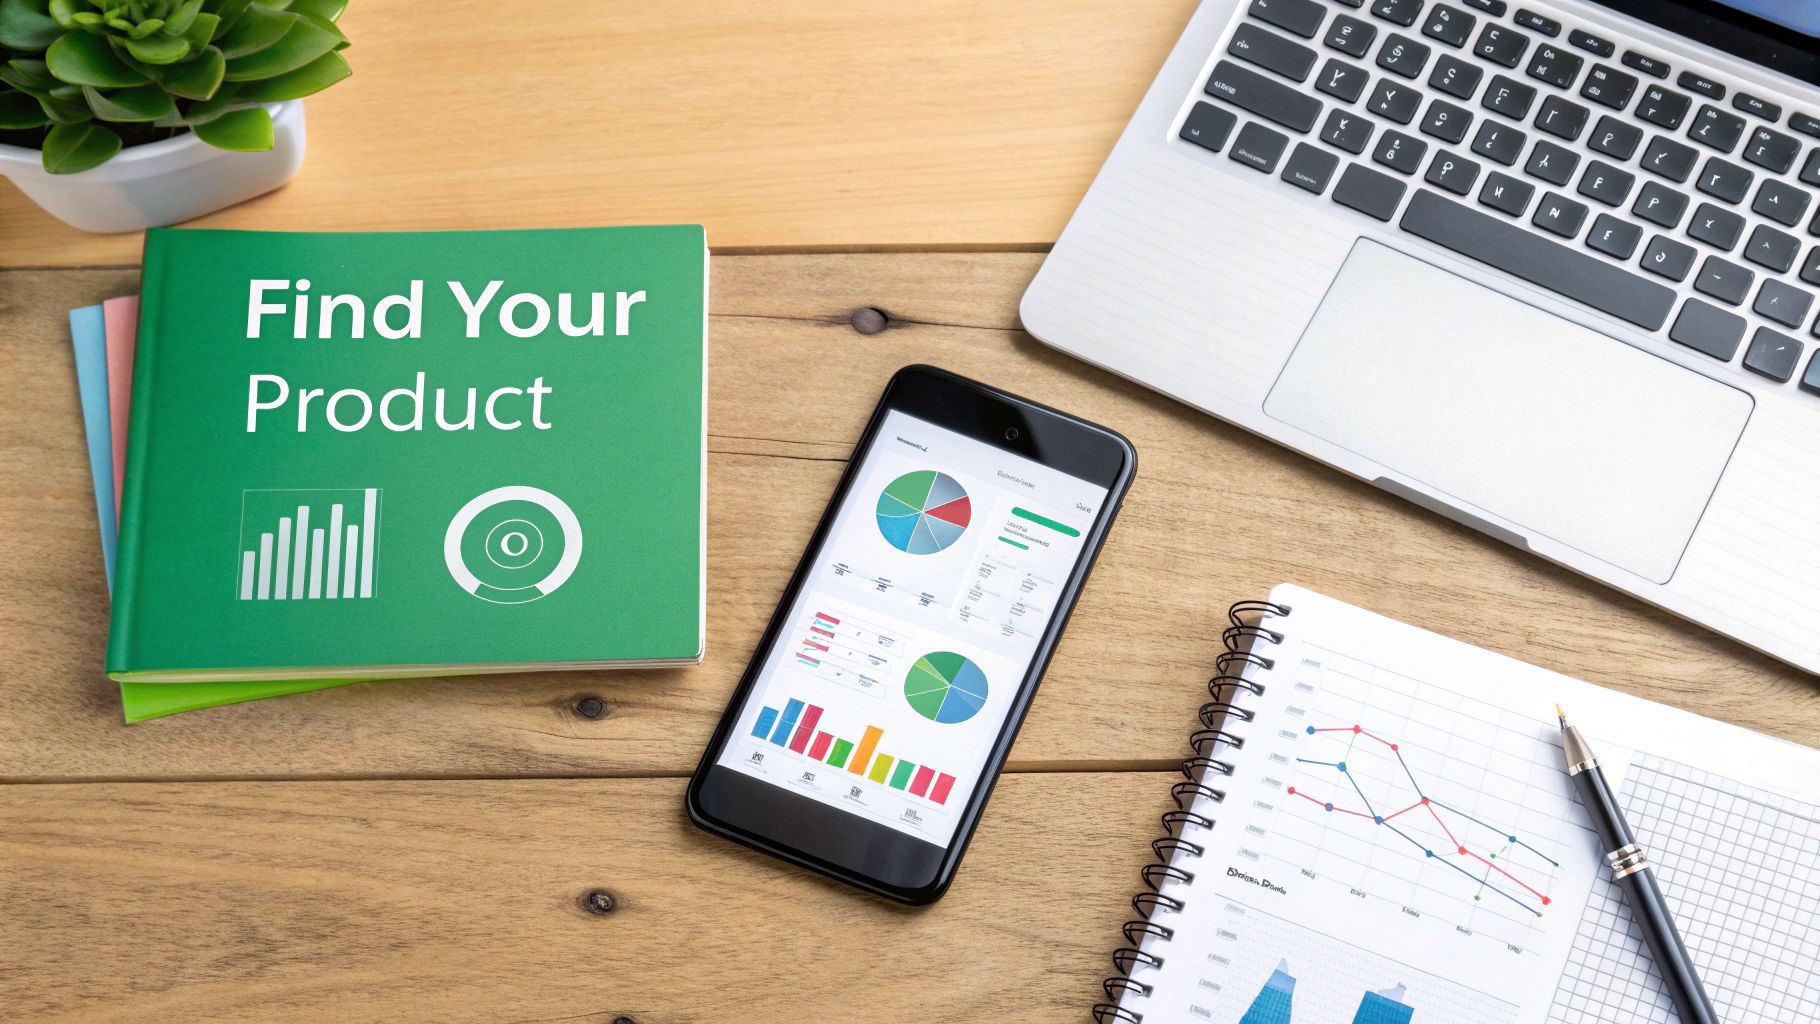
Let's be blunt: your entire Amazon FBA journey hinges on the product you choose. This isn’t the place for passion projects or gut feelings. It's about sharp, data-driven decisions to find something with a real shot at winning in a crowded marketplace.
The real goal here is to find those high-demand niches where you can wedge yourself in and make a name for yourself. We're going to move past the theory and get into a repeatable workflow for spotting opportunities, sizing up the competition, and making sure the numbers actually work before you spend a dime on inventory.
Uncovering High-Demand Niches
The best products aren't just things; they're solutions. Instead of dreaming up a product, start by hunting for customer problems. Modern research tools like Helium 10 or Jungle Scout are non-negotiable for this, letting you peek directly at Amazon's sales data.
Here's a sample workflow using a tool like Helium 10's Black Box:
- Set Filters: Input criteria like monthly revenue ($5,000+), price ($20-$70), and review count (under 500) to narrow down the options.
- Identify Niches: Look for products with steady sales but listings that are… well, less than perfect. Are the top sellers using grainy, blurry photos? Do the reviews keep bringing up the same nagging flaw you know you can fix? These are your entry points.
- Drill Down: For instance, a search for "bamboo kitchen utensils" might show a ton of demand. But if you dig into the reviews, you might see a pattern of customers complaining that the utensils crack after a few uses. Bingo. That's your opportunity: find a supplier who can make a more durable, higher-quality version.
Validating Your Product Idea
Got a potential winner? Hold on. Before you get too excited, you have to validate it. This is the crucial step that keeps you from dumping your savings into a product nobody actually wants. A solid validation process comes down to a few key numbers.
- Sales Velocity: You want to see the top competitors selling at least 10-15 units per day. This tells you the demand is real and consistent.
- Manageable Competition: Steer clear of markets completely owned by massive, household-name brands. The sweet spot is a niche where the top sellers have fewer than 500 reviews.
- Profit Margin Potential: Pull up Amazon's free FBA Revenue Calculator and start plugging in numbers. As a rule of thumb, your landed cost—what you pay for the product plus shipping it to Amazon—should be no more than 25-30% of your target selling price. This leaves you enough room for fees, ad spend, and, most importantly, profit.
Case Study in Action: An eco-conscious brand saw the buzz around reusable food storage. They fired up Helium 10 and discovered silicone food bags had huge search volume, but reviewers constantly griped about flimsy seals that didn't work. They had their validation. This wasn't just another copycat product; it was an improved version of something people were already eager to buy.
Sourcing and Vetting Suppliers
Once your product idea is validated, it's time to find someone to make it. Platforms like Alibaba and Thomasnet are the usual starting points for finding manufacturers all over the world. But finding a supplier is the easy part—vetting them is what separates the pros from the amateurs.
Here's a step-by-step vetting process:
- Search on Alibaba: Use specific keywords like "durable bamboo utensil set." Filter for "Verified Supplier" and "Trade Assurance."
- Create a Shortlist: Identify 5-10 potential factories. Look for those with good response rates and several years of experience.
- Send a Request for Quotation (RFQ): Your first message should be professional, direct, and clear. Introduce your brand, lay out your product requirements (don't forget to mention the improvements you identified!), and ask about their production capabilities, Minimum Order Quantity (MOQ), and sample costs.
- Order Samples: Never, ever, ever place a bulk order without getting a physical sample in your hands first. This is your only chance to test the quality, the durability, and the overall feel of the product.
- Negotiate and Place a Test Order: Once you're happy with a sample, negotiate the final price and place a small initial order.
The eco-friendly brand we mentioned? They ordered samples from three different suppliers just to test the seal strength on their silicone bags before committing to their $5,000 initial inventory investment. That one small step saved them from a launch that would have been a complete disaster. Researching the best suppliers for Amazon FBA can make or break your business.
Crafting Product Listings That Convert Shoppers
You’ve done the hard work of finding and sourcing a killer product. Now for the fun part—this is where the magic happens. Your product listing is your digital storefront, your best salesperson, and it works for you 24/7.
But here's a hard truth: a phenomenal product with a lazy, uninspired listing will be invisible to millions of Amazon shoppers.
Building a listing that turns browsers into buyers is both an art and a science. It's about blending persuasive, benefit-driven copy with the right keywords to win over Amazon's algorithm and human shoppers. Getting this right is a non-negotiable step.
The Anatomy Of A High-Converting Title
Your product title is the single most valuable piece of SEO real estate you have. It needs to be packed with relevant keywords, but it also has to be readable and make sense to a real person. I see sellers make one of two mistakes all the time: they either stuff their title with a nonsensical string of keywords or write something so vague it never gets found.
A practical formula for a strong title is: [Brand Name] [Main Keyword] - [Key Feature 1], [Key Feature 2], [Use Case/Benefit]
- Weak title: "Silicone Baking Mat"
- Powerful, keyword-rich title: "Brand Name Silicone Baking Mat – Set of 2 Non-Stick Half Sheet Liners for Cookie Sheets – Professional Grade, Reusable & BPA-Free"
See the difference? The second title tells both shoppers and the algorithm exactly what the product is, what you get, and why it's great, which skyrockets its chances of being discovered in a search.
Writing Bullet Points That Sell The Solution
Your five bullet points are your chance to sell the benefits, not just list the features. People don't buy a drill bit; they buy the hole it creates. Use this space to hit on your customer’s pain points and show them exactly how your product is the solution.
Here is a practical example for our silicone baking mat:
- BULLET 1: NEVER SCRUB BAKING SHEETS AGAIN ► Our non-stick silicone surface means burnt-on cheese and sugar slide right off. Simply wipe it clean in seconds or toss it in the dishwasher for effortless cleanup after baking cookies, roasting vegetables, or making candy.
- BULLET 2: SAVE MONEY & THE ENVIRONMENT ► Stop wasting money on disposable parchment paper or aluminum foil. This reusable, food-grade silicone mat can be used thousands of times, making it a smart, eco-friendly choice for your kitchen.
- BULLET 3: PERFECTLY EVEN BAKING, EVERY TIME ► Engineered for superior heat distribution, our mat eliminates hot spots on your cookie sheets. Enjoy consistent, professional-quality results with no more burnt bottoms or undercooked centers.
This structure grabs attention, explains the feature, and weaves in secondary keywords naturally.
The Power Of Visual Storytelling
On Amazon, your product photos are the product. Since a customer can't physically pick up and examine your item, your images have to do all the heavy lifting. Investing in professional photography isn't a luxury—it's a fundamental cost of doing business.
Your image stack should tell a complete story:
- Image 1 (Main): A crisp, clear product shot on a pure white background.
- Image 2 (Infographic): Highlight 3 key features with text overlays (e.g., "Non-Stick Surface," "Dishwasher Safe").
- Image 3 (Lifestyle): Show the mat on a baking sheet with freshly baked cookies coming out of the oven.
- Image 4 (Scale): Place the mat next to a ruler or a common kitchen item to show its size.
- Image 5 (Lifestyle): Another action shot, perhaps showing someone easily peeling baked salmon off the mat.
For sellers enrolled in Amazon's Brand Registry, A+ Content is an absolute game-changer. This feature lets you add enhanced images and text modules to your product page, creating a rich brand story that can seriously boost your conversion rates. To really dive deep, you can learn more about how to fully optimize Amazon product listings and unlock their potential. When you use these visual tools, you stop just selling a product and start building a brand experience people remember.
Mastering FBA Logistics: From Your Supplier to Amazon's Warehouse
Think of Fulfillment by Amazon as the engine of your business. It's powerful, but it only runs smoothly if you feed it correctly. Getting your products from your supplier to an Amazon warehouse isn't just a matter of slapping a label on a box; it's a precise logistical dance where every single step counts. Nailing this workflow is what separates the sellers who scale from those who get bogged down in rejected shipments, lost inventory, and surprise fees.
There's a reason this process is so critical. Over 82% of Amazon's 2.5 million active sellers trust FBA to handle the heavy lifting of logistics. It's the operational backbone that allows small and medium businesses—which, by the way, account for 58% of all Amazon sales—to compete with massive corporations. It’s no wonder 92% of private-label brands build their businesses on FBA. For more on the numbers, check out these Amazon FBA stats on thunderbit.com.
The Non-Negotiable Rules of FBA Prep
Before your products can even dream of reaching an Amazon fulfillment center, they have to be prepped according to Amazon's notoriously strict guidelines. Cutting corners here is not an option. It's a fast track to costly delays, unplanned prep fees from Amazon, or even having your entire shipment turned away at the loading dock.
Here are practical examples for common products:
- FNSKU Labeling: Every single unit needs its own unique Amazon barcode, the FNSKU (Fulfillment Network Stock Keeping Unit). This is non-negotiable. You must completely cover any existing UPCs with the FNSKU label to prevent scanning chaos at the warehouse.
- Poly-Bagging Requirements: Selling a baby onesie? It must be in a transparent poly bag with a suffocation warning, as the bag opening is wider than 5 inches.
- Bubble Wrap for Fragile Items: That beautiful ceramic coffee mug needs to be securely bubble-wrapped. The rule of thumb? It should be able to survive a 3-foot drop onto a hard surface without shattering.
- "Sold as a Set" Labels: If you're selling a shampoo and conditioner bundle, you must place a "Sold as a Set" or "This is a Set, Do Not Separate" label on the outside of the packaging so warehouse workers don't split them up.
Creating Your Shipping Plan in Seller Central
Once everything is prepped and labeled, it's time to tell Amazon what's coming. You do this by creating a shipping plan in Seller Central. This is your formal declaration to Amazon, detailing exactly which products and how many units are heading into their network.
The workflow inside Seller Central is:
- Go to Manage Inventory > Send/replenish inventory.
- Select the products and quantities you're sending.
- Confirm Prep Guidance: Amazon will ask who's doing the prep—you, your supplier, or Amazon (for a per-item fee).
- Print Labels: This is where you generate and print the FNSKU labels for each unit.
- View Shipments: Amazon’s algorithm will assign your inventory to one or more fulfillment centers. You don't get to pick the location.
- Prepare Shipment: Enter the box dimensions and weights for your shipment.
- Calculate Shipping Costs: Choose a carrier and purchase shipping labels.
- Print Box Labels: Attach the FBA shipping label to each box.
This is a huge "gotcha" for new sellers. You might think you're sending one big shipment to a warehouse down the street, but Amazon could split it into three smaller shipments headed to California, Florida, and Illinois. This can have a massive impact on your inbound shipping costs, so be prepared.
Choosing a Carrier and Getting Your Boxes to Amazon
After you've approved the destinations, you need to pick a shipping carrier. For domestic shipments in the US, using an Amazon Partnered Carrier like UPS is a no-brainer. The rates are heavily discounted, and you can buy and print the shipping labels right from Seller Central. It's seamless.
But what if your logistics are more complex? Maybe you're selling supplements with expiration dates. Managing that inventory can become a full-time job. This is where a third-party logistics (3PL) partner can be a lifesaver.
Example workflow with a 3PL:
- Your supplier ships bulk inventory directly to your 3PL partner's warehouse.
- You create the shipping plan in Seller Central as usual.
- You send the FNSKU and box labels to your 3PL partner.
- The 3PL preps, labels, and boxes your inventory according to your plan.
- The 3PL schedules the pickup with the carrier, sending your products to the designated Amazon fulfillment centers.
This process, often managed through shared software, takes the entire prep-and-ship burden off your shoulders. It's why many sellers use Amazon FBA prep services to protect margins and scale efficiently.
Driving Growth With PPC and Emerging Channels
Alright, your product is officially live and checked into Amazon’s warehouses. The heavy lifting of logistics is done. Now, the real fun begins: getting people to actually buy it.
This is the moment your focus shifts from setup to sales momentum. Driving consistent, targeted traffic is what turns a side hustle into a real business, and your primary tool for this is right inside Seller Central: Amazon Pay-Per-Click (PPC).
But we won't stop there. The smartest sellers know that relying only on Amazon is a risky game. We'll also dive into how to pull in customers from other powerful platforms, creating a growth engine that’s built to last.
The Fundamentals of Amazon PPC
Think of Amazon PPC as paying for the best shelf space in the world's biggest store. When a customer searches for something you sell, a well-placed ad can rocket your product straight to the top of page one, bypassing competitors who are just waiting for organic sales to trickle in.
For a new product with zero sales history, PPC isn't just a good idea—it's essential. A simple launch strategy involves two campaign types:
- Automatic Campaign (Discovery): Set a daily budget of $10-$20. Let Amazon's algorithm show your ad against a wide range of search terms related to your product. The goal here is data collection.
- Manual Campaign (Performance): After a week, review the Search Term Report from your automatic campaign. Find the exact customer searches that led to sales (e.g., "non-slip yoga mat for hot yoga"). Move these proven keywords into a manual campaign where you can set specific bids to control your ad spend more precisely.
This two-step process allows you to use Amazon's data to find what works, then double down on those winning keywords for profitable growth.
Optimizing Your Campaigns for Profitability
Anyone can run ads. The real skill is running them profitably.
The key metric you need to obsess over is ACoS (Advertising Cost of Sale). This percentage tells you exactly how much of your sales revenue is being spent on the ads that generated it. An ACoS of 25% means for every $1.00 in sales you make from ads, you spent $0.25 to get it.
Your goal is to keep your ACoS at or below your product's profit margin. If your yoga mat sells for $30, costs you $10 (landed), and has $5 in FBA fees, your profit is $15, or a 50% margin. Your target ACoS should be below 50% to be profitable on ad sales.
To really get a handle on your campaign performance, you need to understand how to calculate Return on Ad Spend (ROAS). This metric flips ACoS on its head and shows you the total revenue generated for every dollar spent, giving you a clearer picture of your actual return.
Pro Tip: PPC is not a "set it and forget it" machine. You have to actively manage your campaigns. A weekly optimization workflow should include reviewing your search term reports and adding irrelevant terms (e.g., "yoga pants" for your yoga mat) to your negative keywords list. This one action prevents wasting money on clicks that will never convert.
Of course, none of this matters if your products aren't available for customers to buy. The entire FBA system is built on the simple logistics flow shown below.
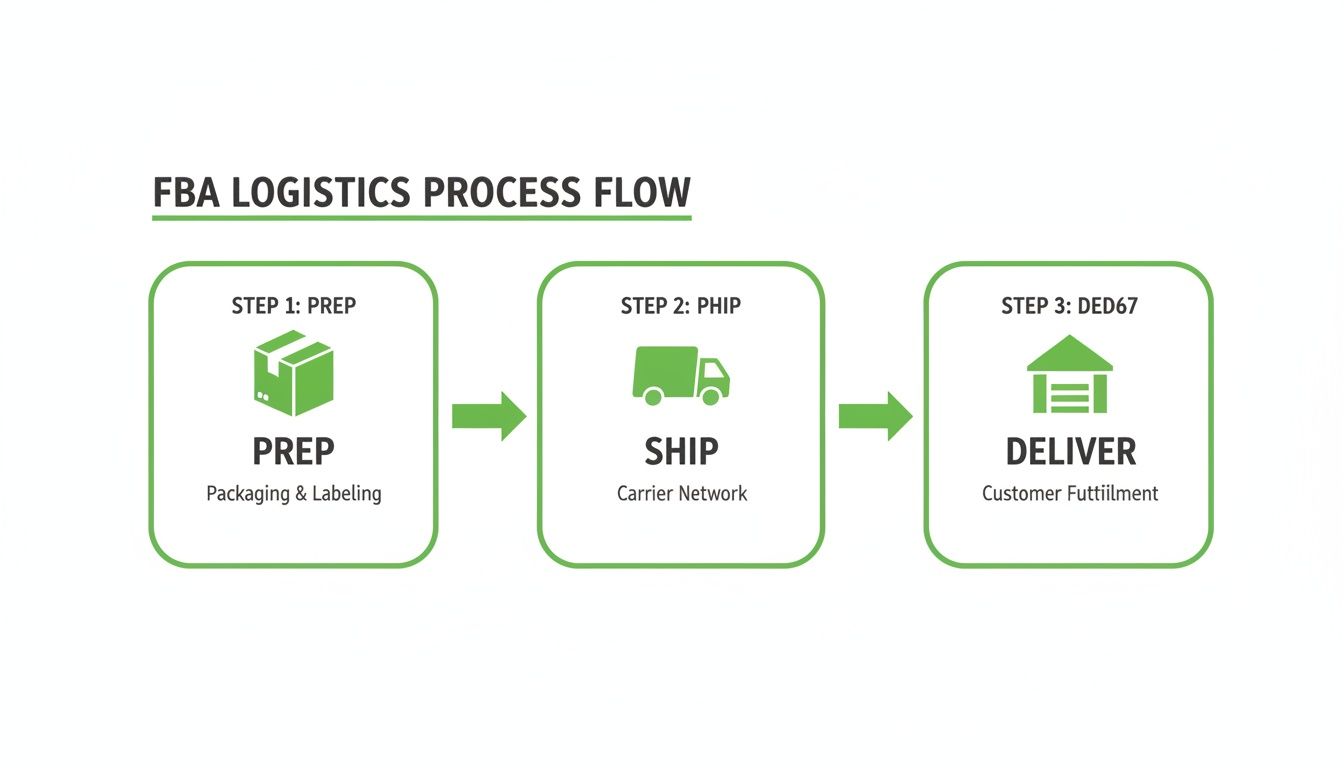
Having this process down pat ensures your products are always in stock and Prime-eligible, which is a massive factor in both organic sales and the overall success of your ad campaigns.
Expanding Beyond Amazon With TikTok Shop and AI
Here’s a hard truth: putting all your eggs in the Amazon basket is dangerous. A surprise suspension or a flood of new competitors can tank your business overnight. The most resilient brands build audiences and sales channels off Amazon, too.
One of the most explosive growth channels for e-commerce right now is TikTok Shop. It's a completely different beast, allowing you to embed your products directly into short, viral videos and sell to customers without them ever leaving the app.
For example, a clothing brand can use TikTok to post fun "outfit of the day" videos that drive impulse buys through the integrated TikTok Shop. At the same time, their Amazon FBA presence is there to capture shoppers with high purchase intent—the ones searching specifically for "black high-waisted leggings."
This is how you build a powerful, multi-channel sales engine. To help you visualize the different avenues for growth, here’s a breakdown of the key channels many FBA sellers are expanding into.
| Channel | Primary Use Case | Target Audience | ZonFlip Integration |
|---|---|---|---|
| Amazon PPC | Capturing high-intent buyers already on Amazon. | Shoppers actively searching for products like yours. | Core |
| TikTok Shop | Driving brand awareness and impulse purchases through viral video content. | Younger demographic, discovery-based shoppers. | Emerging |
| Google Ads | Reaching customers searching on Google and directing them to your Amazon listing or own website. | Broad audience with specific product or problem-based searches. | Advanced |
| Email/SMS Marketing | Building a direct relationship with customers for repeat purchases and new launches. | Previous buyers and brand followers. | Advanced |
As you can see, each channel serves a different purpose, helping you build a more diversified and stable business.
But managing all of this can feel overwhelming. That’s where smart tools, particularly those using AI, become a seller's best friend. Here’s how they can help you manage a multi-channel operation:
- Smarter Inventory: AI tools can analyze sales data from both Amazon and TikTok, giving you far more accurate demand forecasts. This helps prevent a stockout on one channel while you're overstocked on another.
- Automated Customer Service: AI-powered chatbots can handle the flood of common questions ("Where is my order?") from all your channels, freeing you up to work on growth, not admin.
- Cross-Platform Trendspotting: Imagine knowing that a certain style of TikTok video consistently leads to a sales spike on Amazon two days later. AI can spot these patterns, giving you a data-backed roadmap for your content strategy.
By weaving these channels and tools together, you evolve from being just an "Amazon seller" into the CEO of a modern, adaptable brand. You’re building a business that can connect with customers wherever they are and using smart automation to scale efficiently while protecting your bottom line.
Common Questions About Selling on Amazon FBA
Diving into the world of Amazon FBA always brings up a few big questions. Let's cut through the noise and get straight to the real answers you need to set realistic expectations and build a solid plan from the get-go.
How Much Money Do I Need to Start?
There's no single magic number, but if you're serious about giving this a real shot, you should plan for a starting budget somewhere between $3,500 and $5,000. This isn't just for buying your first batch of products; it's the total war chest you'll need.
Here’s a sample budget breakdown for a $4,000 launch:
- Initial Inventory (300 units @ $7/unit): $2,100
- Product Photography & Branding: $500
- Research Software (e.g., Helium 10): $100 (for the first month)
- Amazon Pro Account Fee: $40
- PPC Advertising Launch Budget: $1,000
- Contingency (unexpected fees, etc.): $260
Sure, you could technically start with less, but you'd be hamstringing yourself from the start. The last thing you want is to have a successful launch, sell out in a week, and then lose all your ranking momentum because you can't restock fast enough.
The biggest rookie mistake is underfunding the launch. You're not just buying inventory; you're buying the initial data and visibility needed to actually turn a profit.
How Long Does It Take to Become Profitable?
Patience is the name of the game here. Realistically, you should expect it to take anywhere from 6 to 12 months to reach consistent profitability. Think of those first few months as your investment phase—you're spending money to make money later.
Here’s a typical timeline:
- Months 1-3 (Launch & Rank): Your focus is purely on generating sales velocity, often by spending heavily on PPC. You will likely be unprofitable during this phase as your ACoS might be high.
- Months 4-6 (Optimization): You begin refining your PPC campaigns, cutting wasteful ad spend, and improving your organic rank. You might start breaking even or achieving small profits.
- Months 6+ (Scaling): With established sales history and reviews, your reliance on ads decreases. Organic sales make up a larger portion of your revenue, leading to consistent profitability.
Want to speed things up? Focus on products with a healthy profit margin from day one—at least 30% after all fees and product costs. Being on top of your PPC campaigns right from the start is the single most effective way to shorten that runway to profitability.
Ready to stop guessing and start growing? ZonFlip provides the A-to-Z account management and strategic insights you need to build a profitable brand on Amazon and beyond. Learn more about how we can accelerate your success at https://www.zonflip.com.